
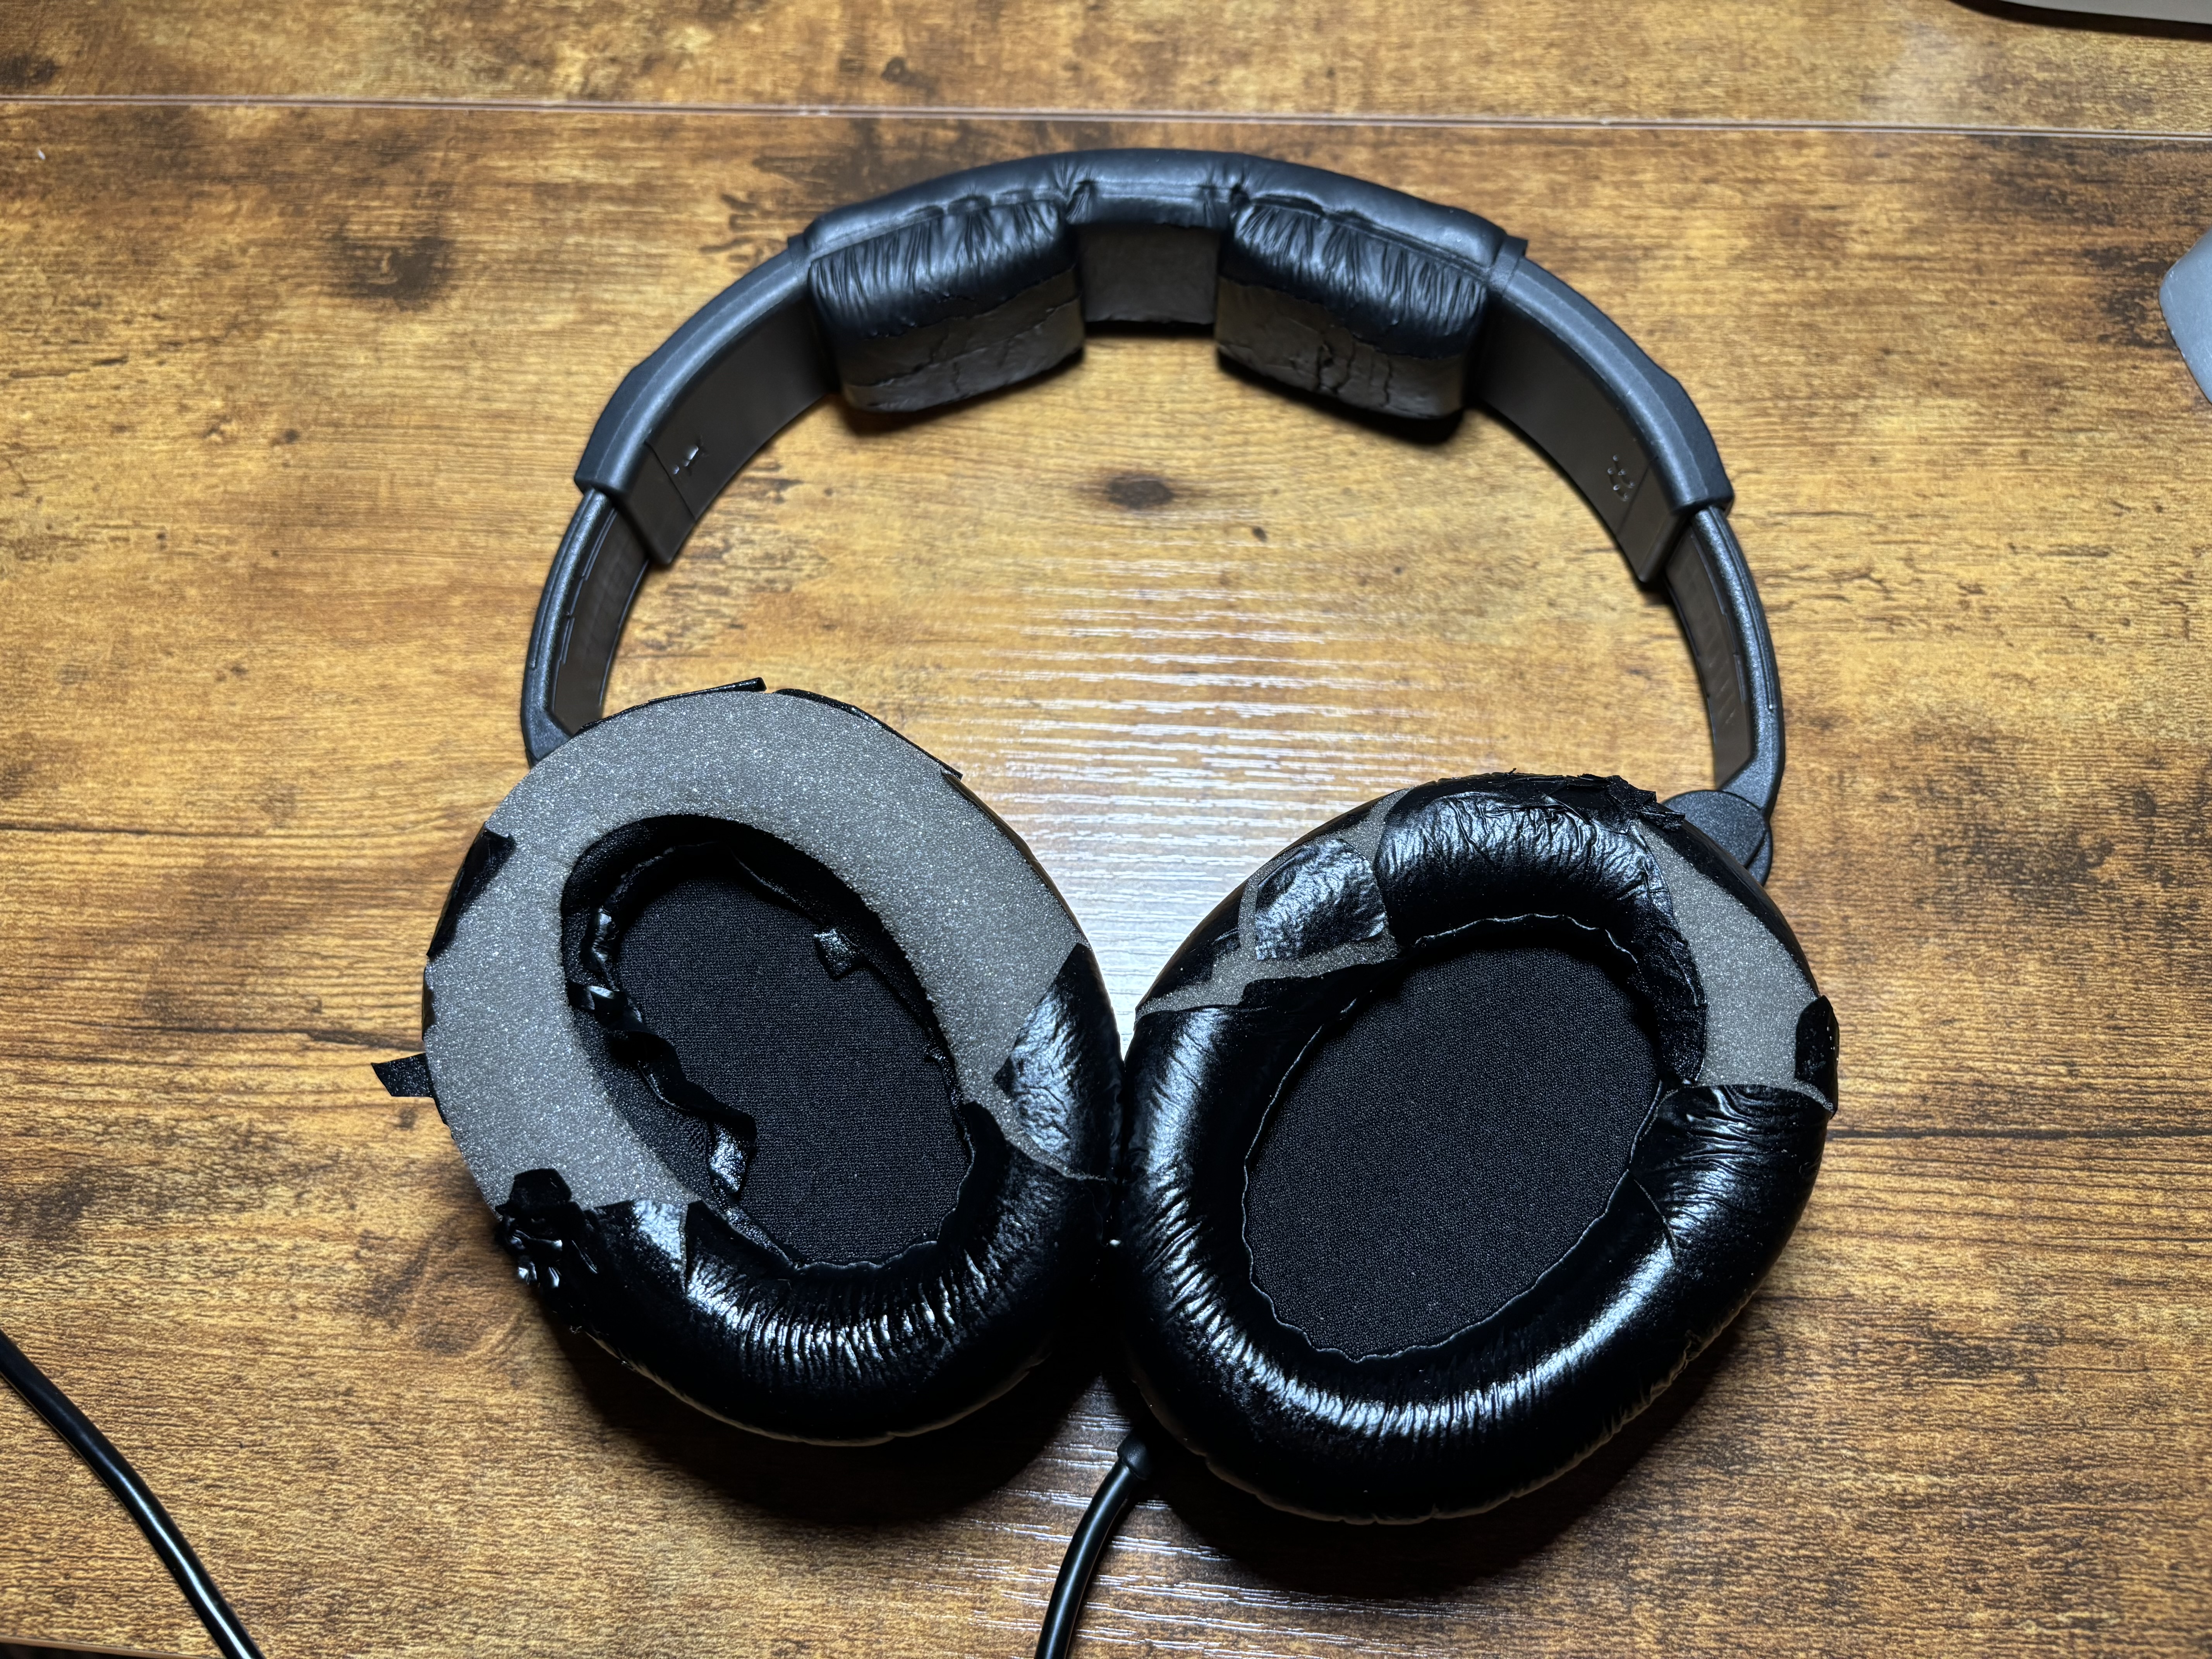
I have a pair of headphones that needs repair. The headphones worked fine for the most part, but the ear pads were falling apart. On this specific model, the Sennheiser HD280 Pro, the ear pads have a faux leather looking outer shell and it deteriorates and flakes off. I finally did the repairs recently and documented the process because if you've been looking at a pair of worn headphones and wondering whether it's time to just replace them, the answer is probably no.
This is a 15-minute repair with inexpensive parts. Once you've done it, you'll never again retire a good pair of headphones because the pads wore out.
Why Ear Pads Matter Sonically
The ear cushion on a studio headphone isn't just about comfort. It creates the acoustic seal that shapes how the headphone actually sounds — particularly in the low frequencies. When pads break down, harden, or lose their shape, that seal degrades. You hear less bass, the stereo image narrows, and what you've been attributing to the headphone's character may actually just be wear.
This tends to happen gradually enough that you don't notice it. You adapt. Putting on a fresh set of pads and hearing the low end come back is a good reminder of why this kind of maintenance matters.
Headphone Earpads I've Replaced
The pairs I've worked on include:
- Sennheiser HD 280 Pro
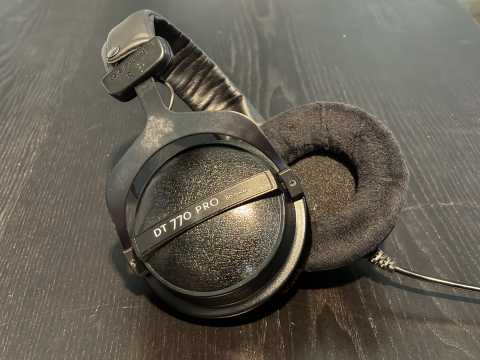
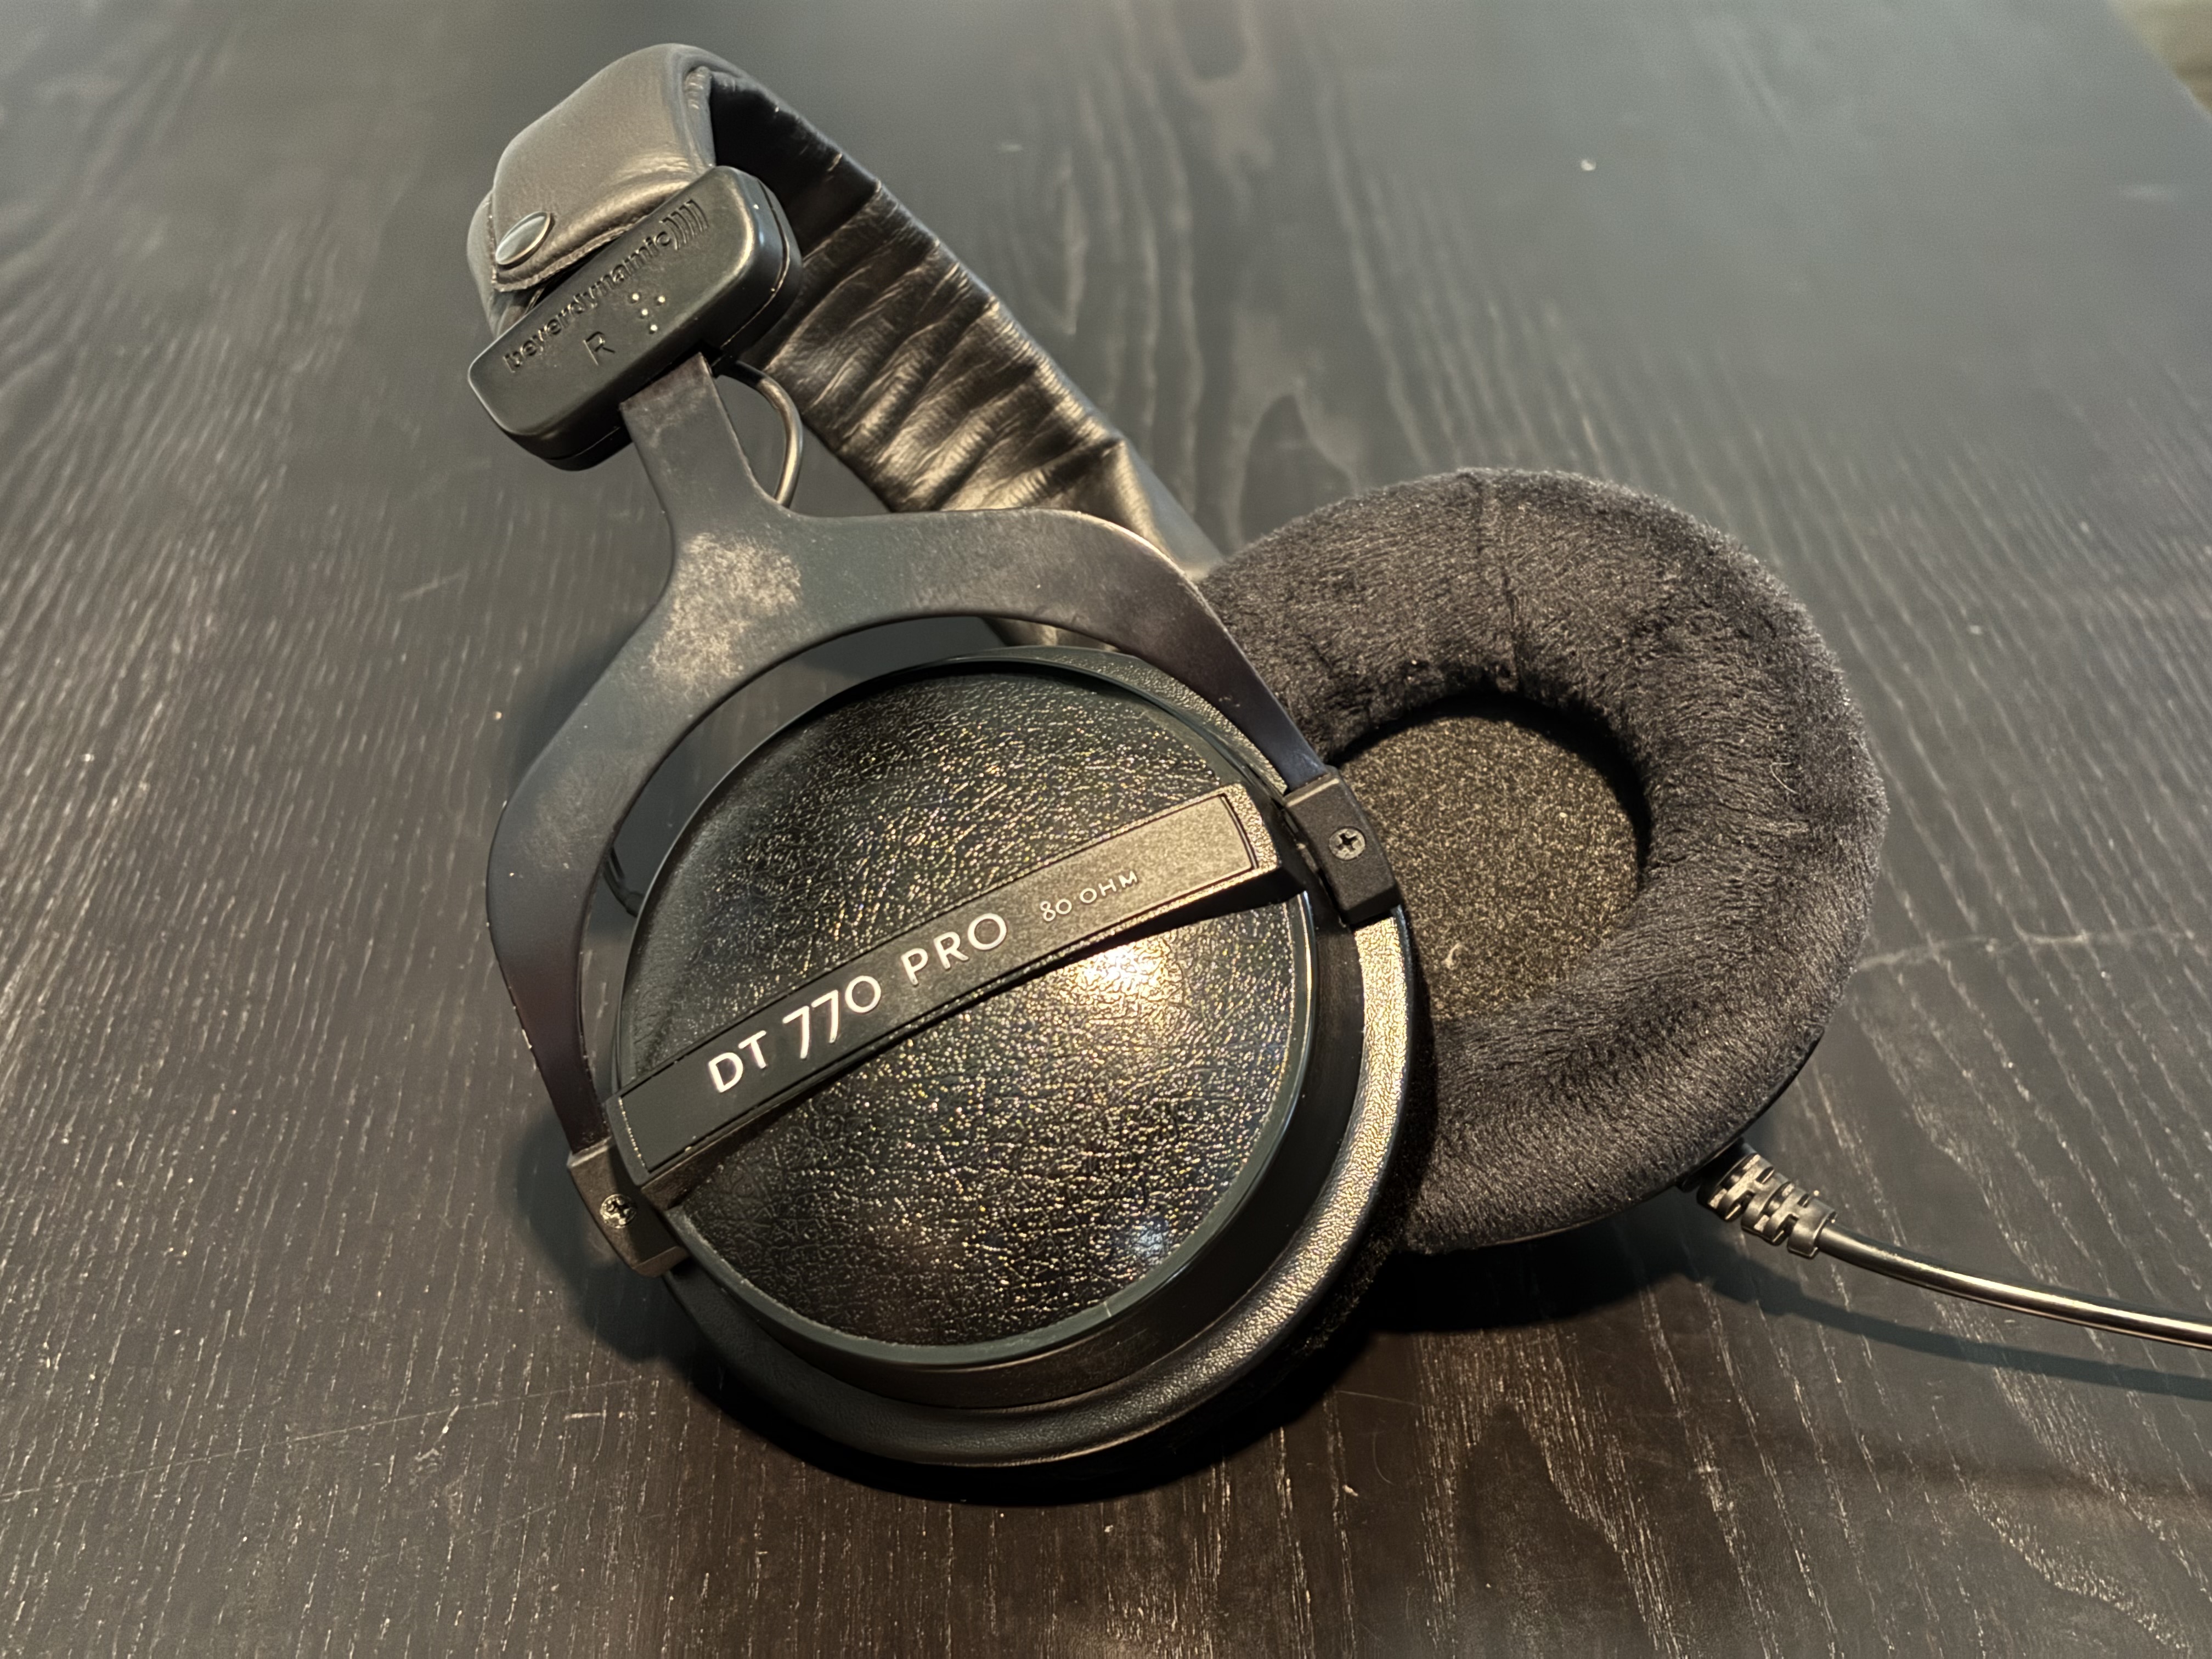
- Beyer Dynamic DT 770 Pro
- Grado SR 325
Each has a slightly different pad attachment method, but the basic process is consistent across all of them.
What You'll Need
Parts for the headphones you're repairing. Here are various parts I've personally replaced on my various headphones over the years.
| Headphone | Replacement | Source | Cost |
|---|---|---|---|
| HD 280 Pro | OEM Pad Set | Sennheiser Website or Sweetwater | $23 - $25 |
| HD 280 Pro | Alternative Replacement | Amazon | $15 |
| DT 770 Pro | Alternative Replacement | Amazon | $24 |
| SR 325 | Alternative Replacement | Beautiful Audio by Silvian | $70 |
A few sourcing notes worth knowing: OEM pads from the manufacturer are the safest choice when available and reasonably priced. You're getting exactly what the headphone was designed for.
Tools
Most pad replacements require no tools at all, just your hands. If you have a thin plastic spudger or flat-head screwdriver that may be a good choice to get small pieces apart if needed.
The Process
The attachment method varies slightly by model, but the general process is the same.
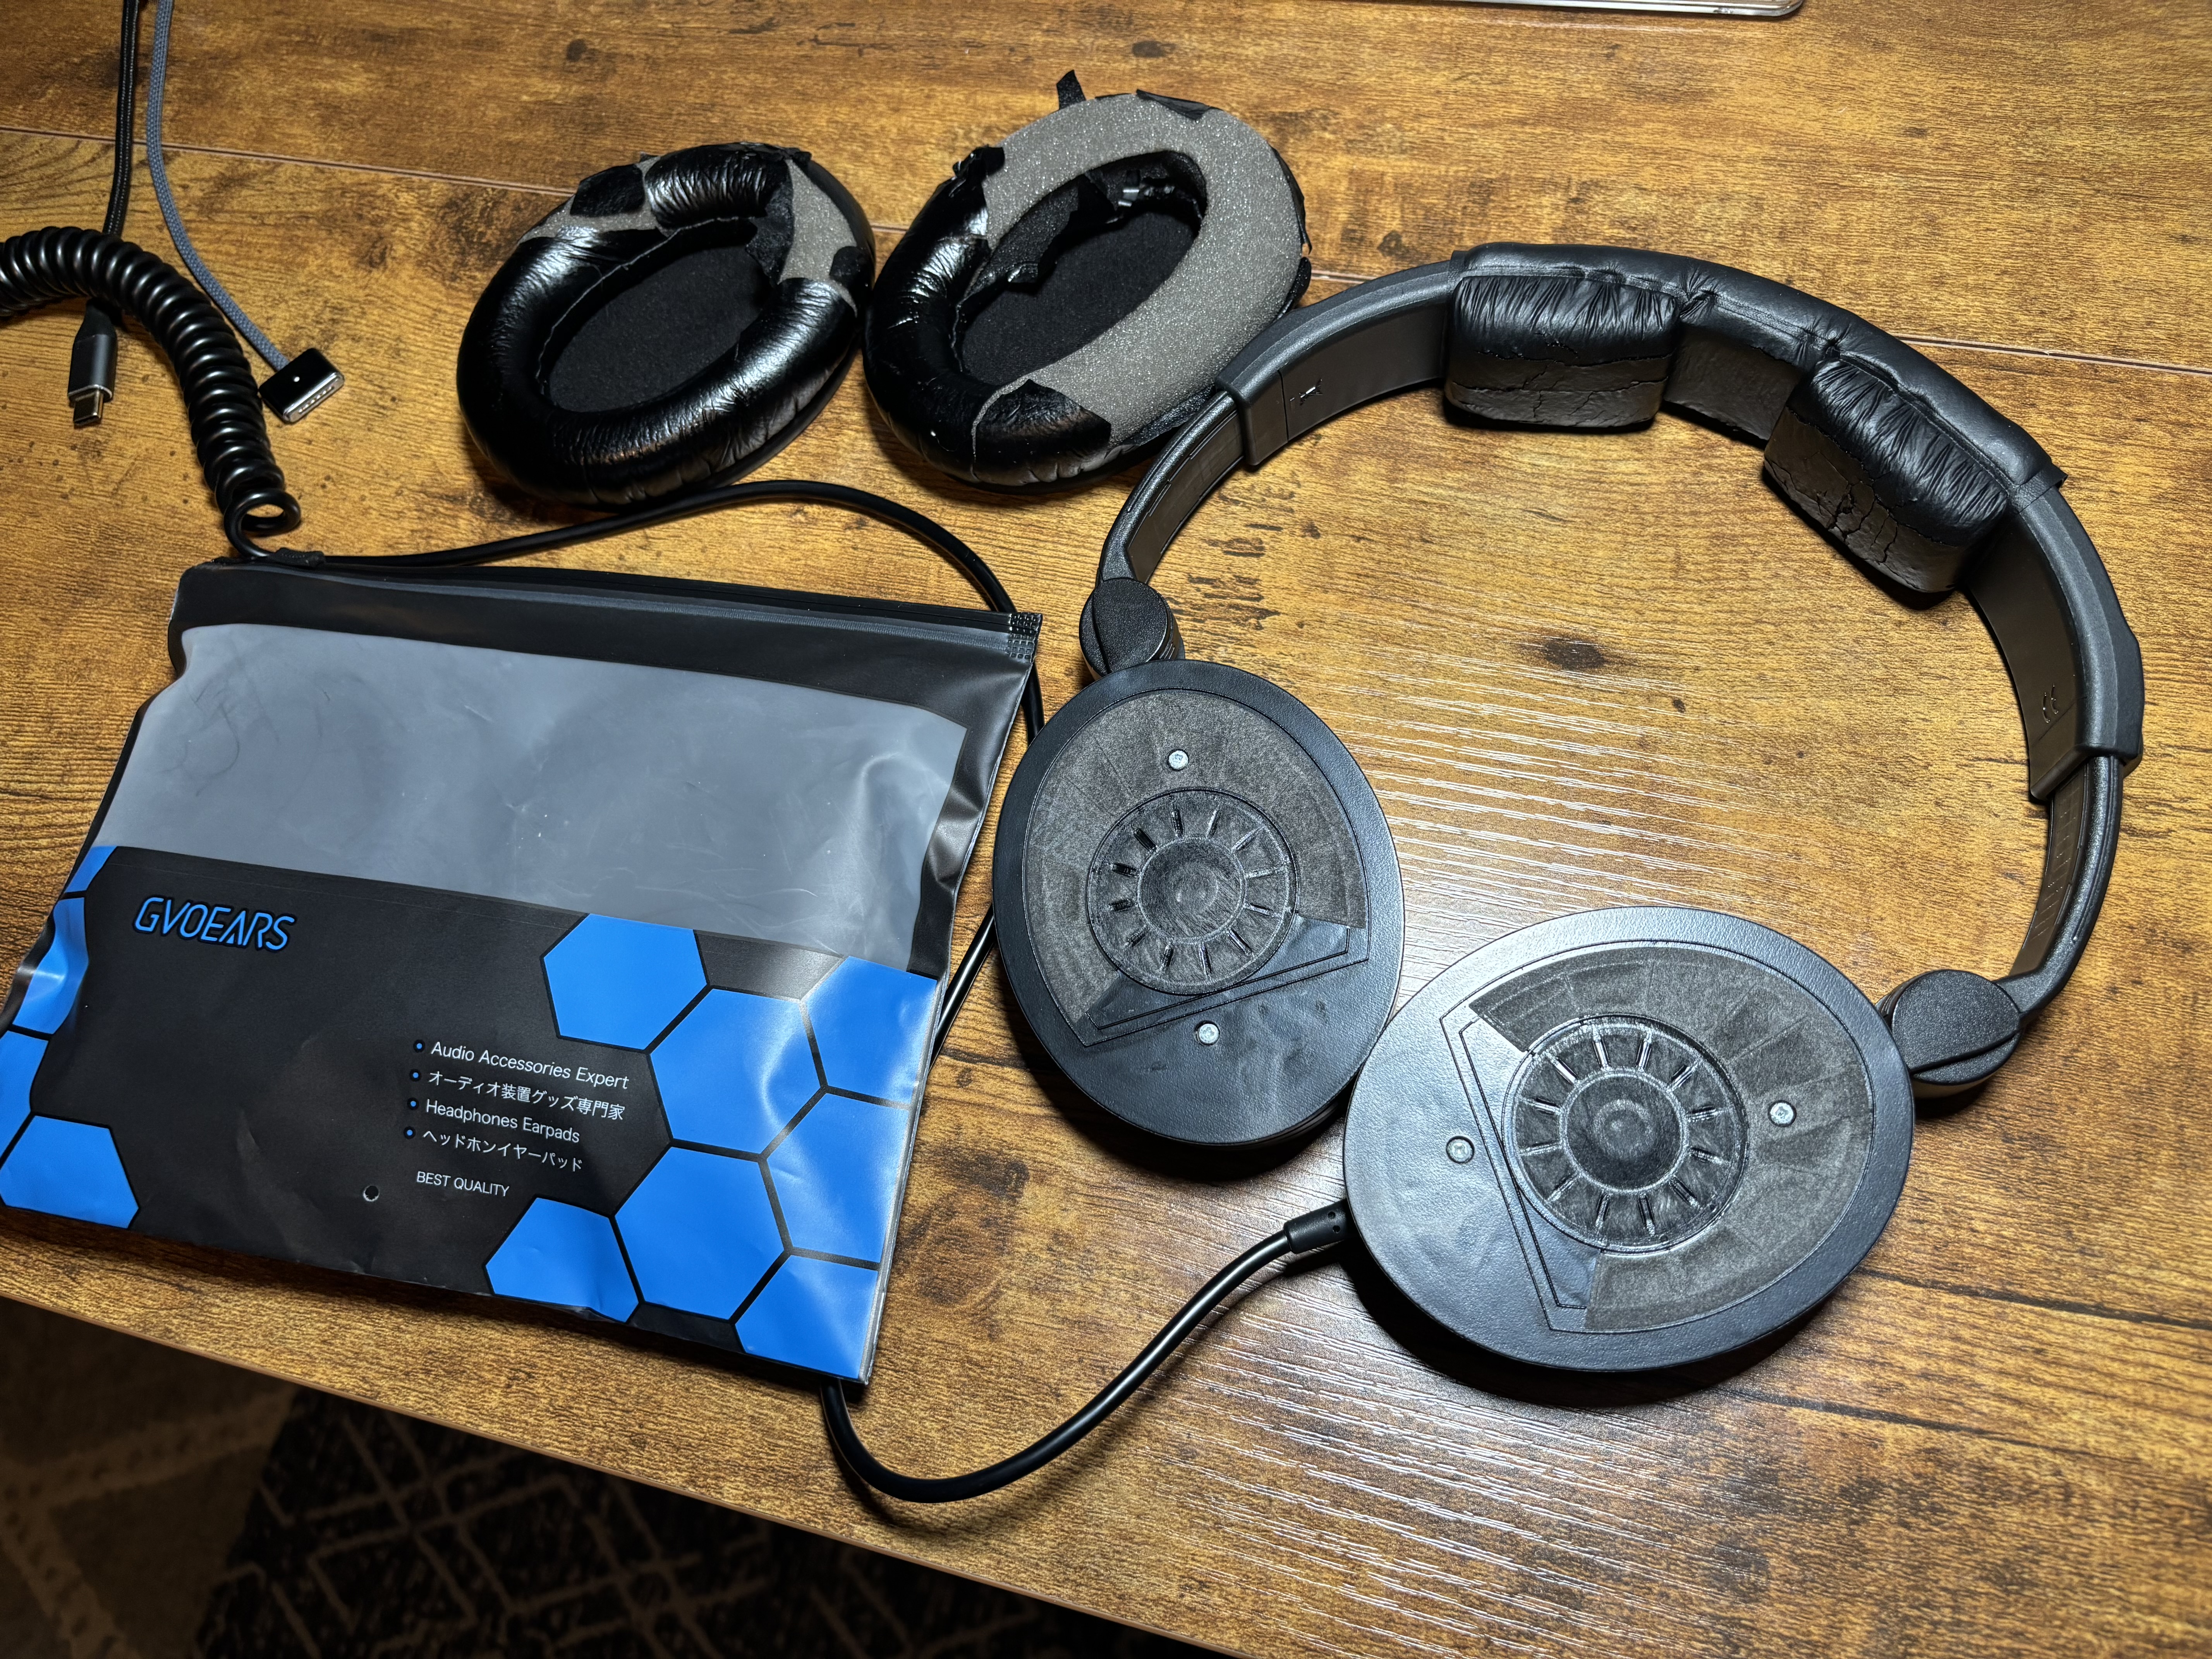
Step 1: Remove the Old Pads

Most pads either pull off, unclip, or twist off. If something isn't moving, look for a secondary attachment point before applying more pressure. Forcing it is how you damage the housing. For all of the headphones I've repaired here, the ear pads are slightly elastic and stretch off of a groove around the housing. Move slowly and carefully to avoid accidentally damaging your headphones.
Step 2: Clean the Driver Housing

With the old pads removed, clean the mounting surface. Dust and compressed foam material collect here over the years. A dry cloth or soft brush is enough. This ensures the new pads seat evenly and seal properly, plus its easiest to clean them with the pads off anyways.
Step 3: Install the New Pads
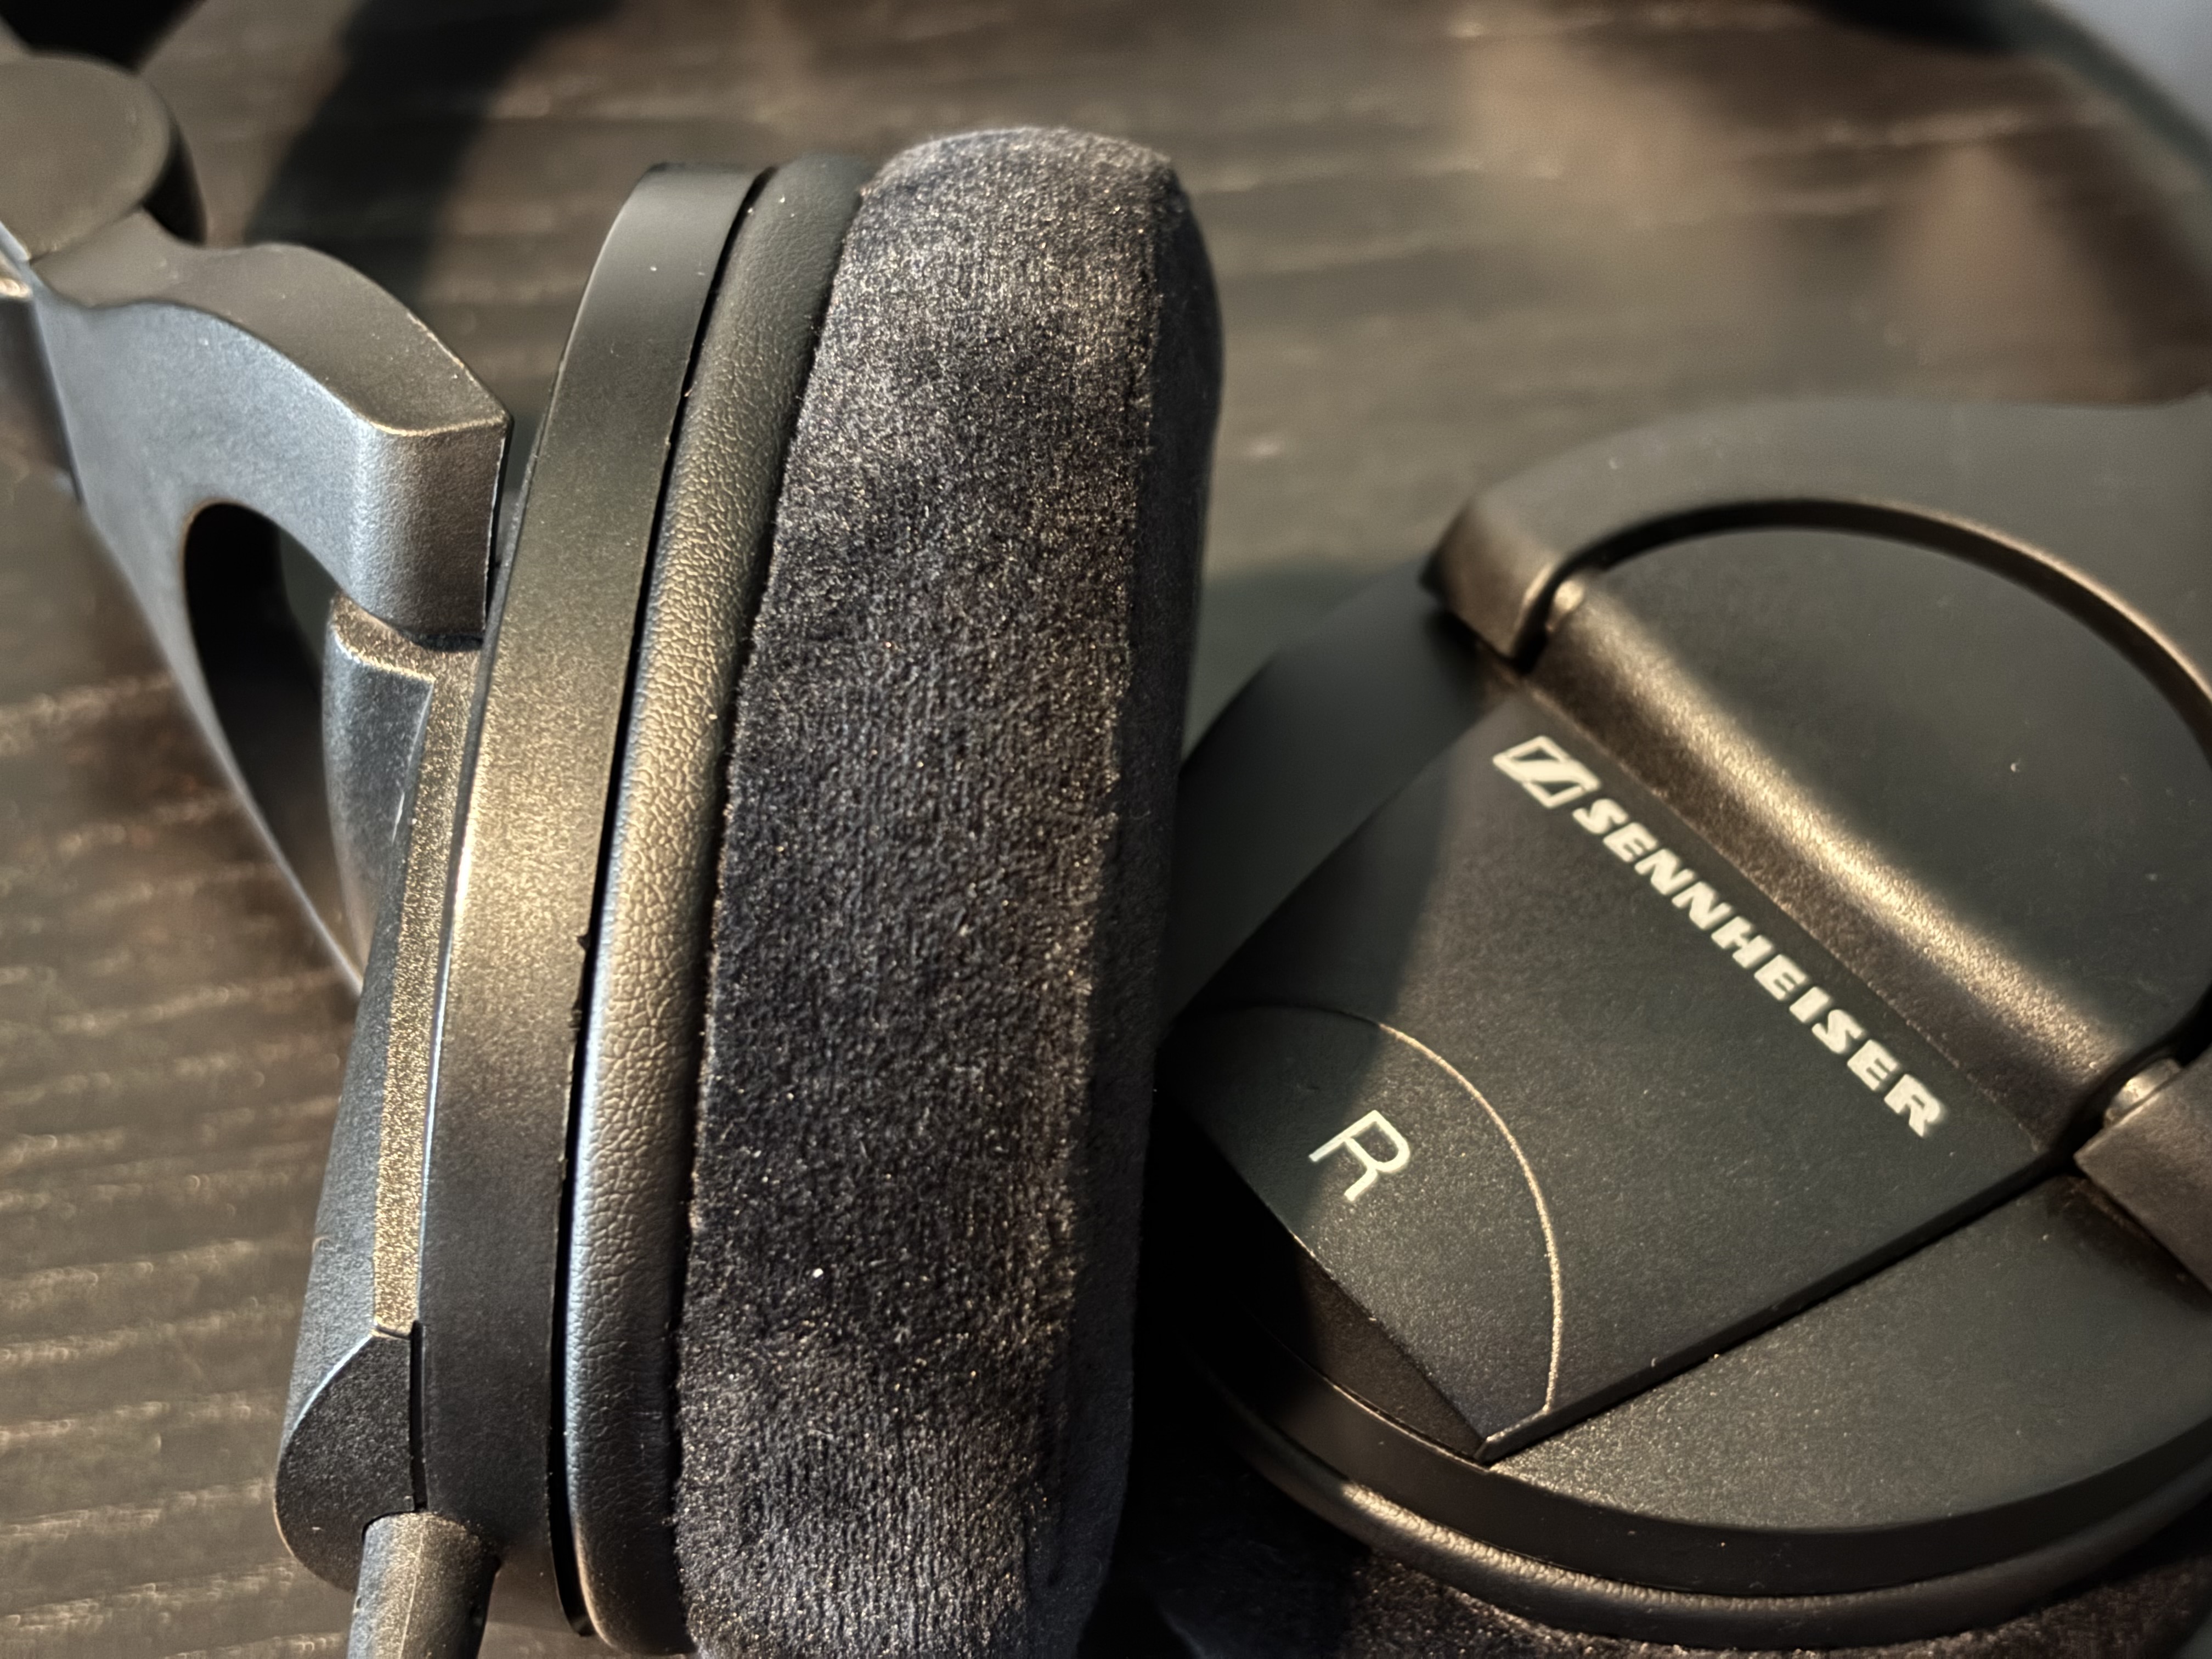
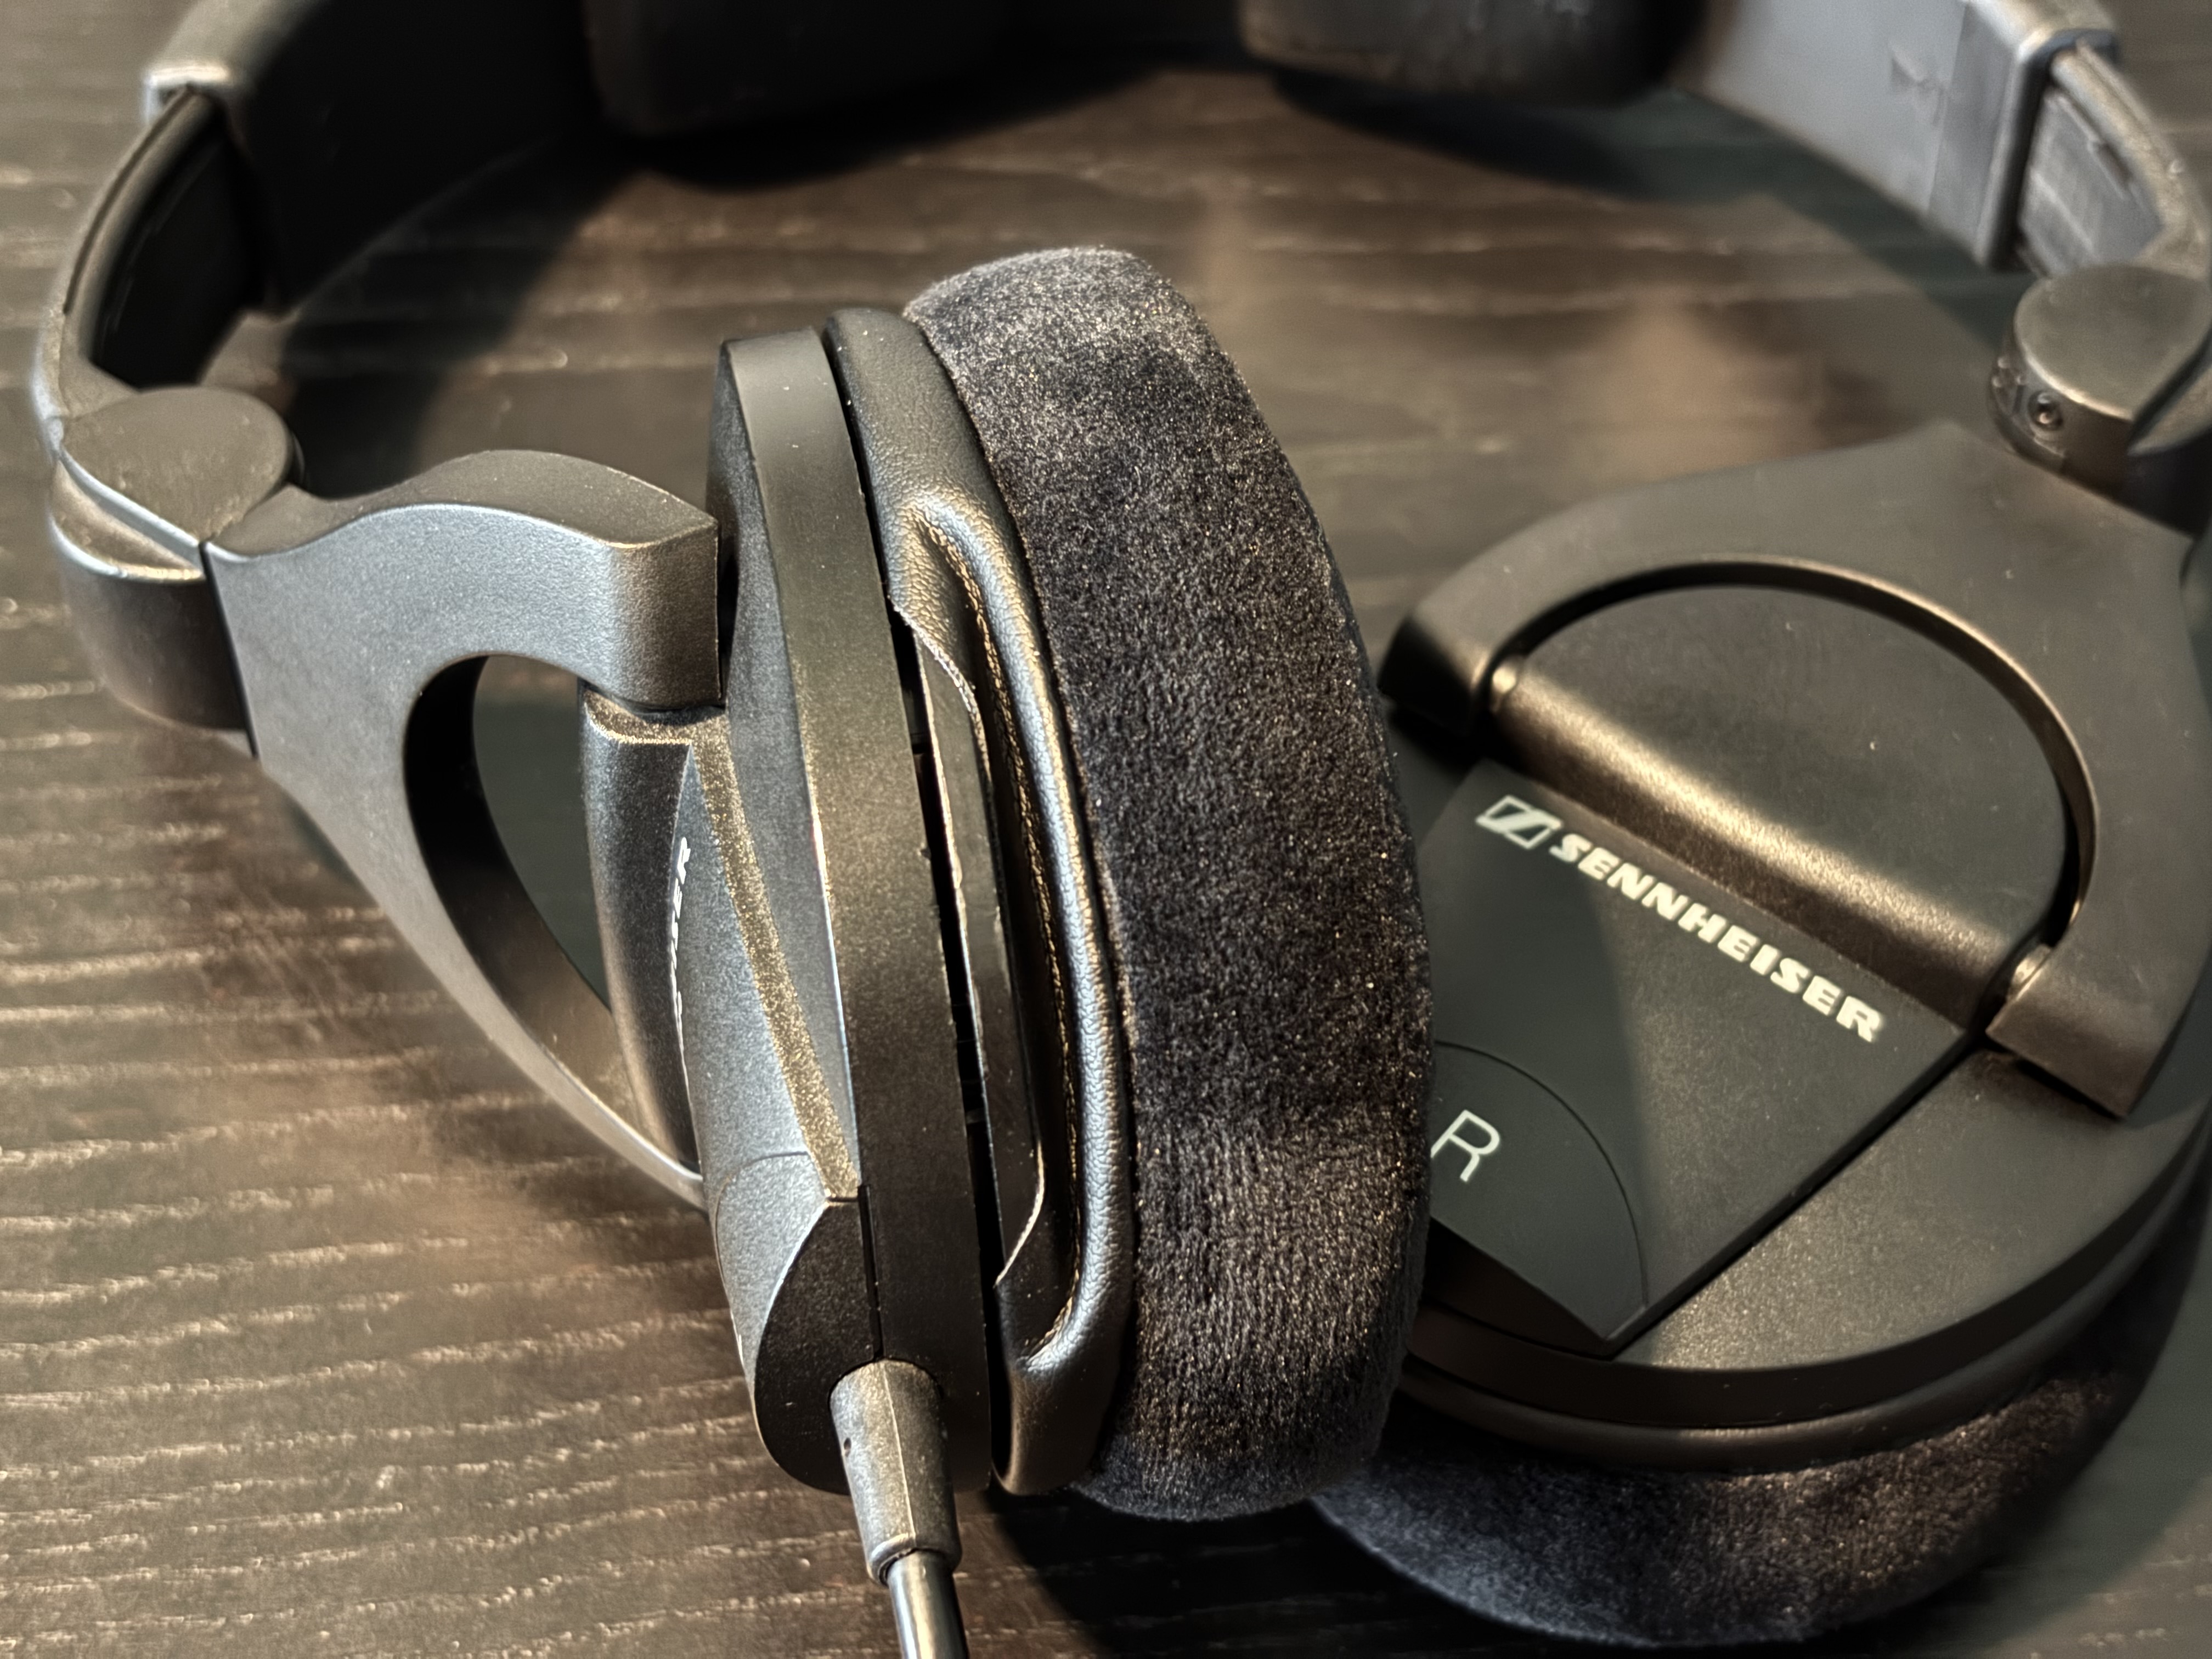
Take your time here, you don't want to break your brand new pads. For the phones mentioned here, all of them slip on and catch in a groove around the housing. There's a bit of a knack to getting the material in the groove, but wiggle and slide a bit and it will fall in.
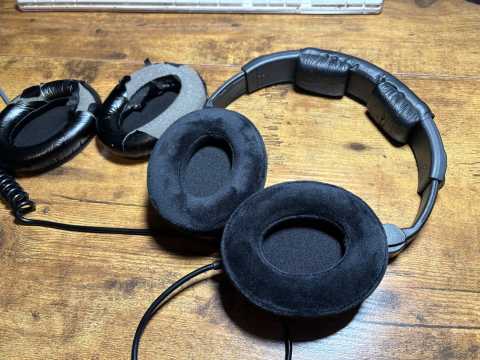
Step 4: Check the Fit

Put the headphones on and check that the seal feels even on both sides. If something feels off, pull the pad and reseat it. Usually there's one section that hasn't fully engaged. Here is a closeup of the new pads before fully seating.

Results
The two pairs that gets the most use are the DT 770's and the HD 280's. I have the 770's setup with my Xbox and that's how I listen to games. I've attached a mic to them and have those set for in-game chat too. For the 280's, I have them setup in my guitar practice area and plug them into my amp emulator. Both of these pairs get lots of regular use.
Final Thoughts
Good studio headphones are worth maintaining. The pairs you've worked on for years — the ones you know, whose sound signature you've calibrated to — are more valuable as working tools than any number of new pairs you haven't learned yet.
Ear pad replacement is the most common maintenance a pair of headphones will need. It's inexpensive, it's fast, and it makes a real difference. If your current pair is showing wear, this repair is worth making before you write them off.
If you have questions about a specific model not covered here, feel free to reach out.
This page includes affiliate links. As an Amazon Associate I earn from qualifying purchases. These are actual items I have purchased and would recommend them to friends.